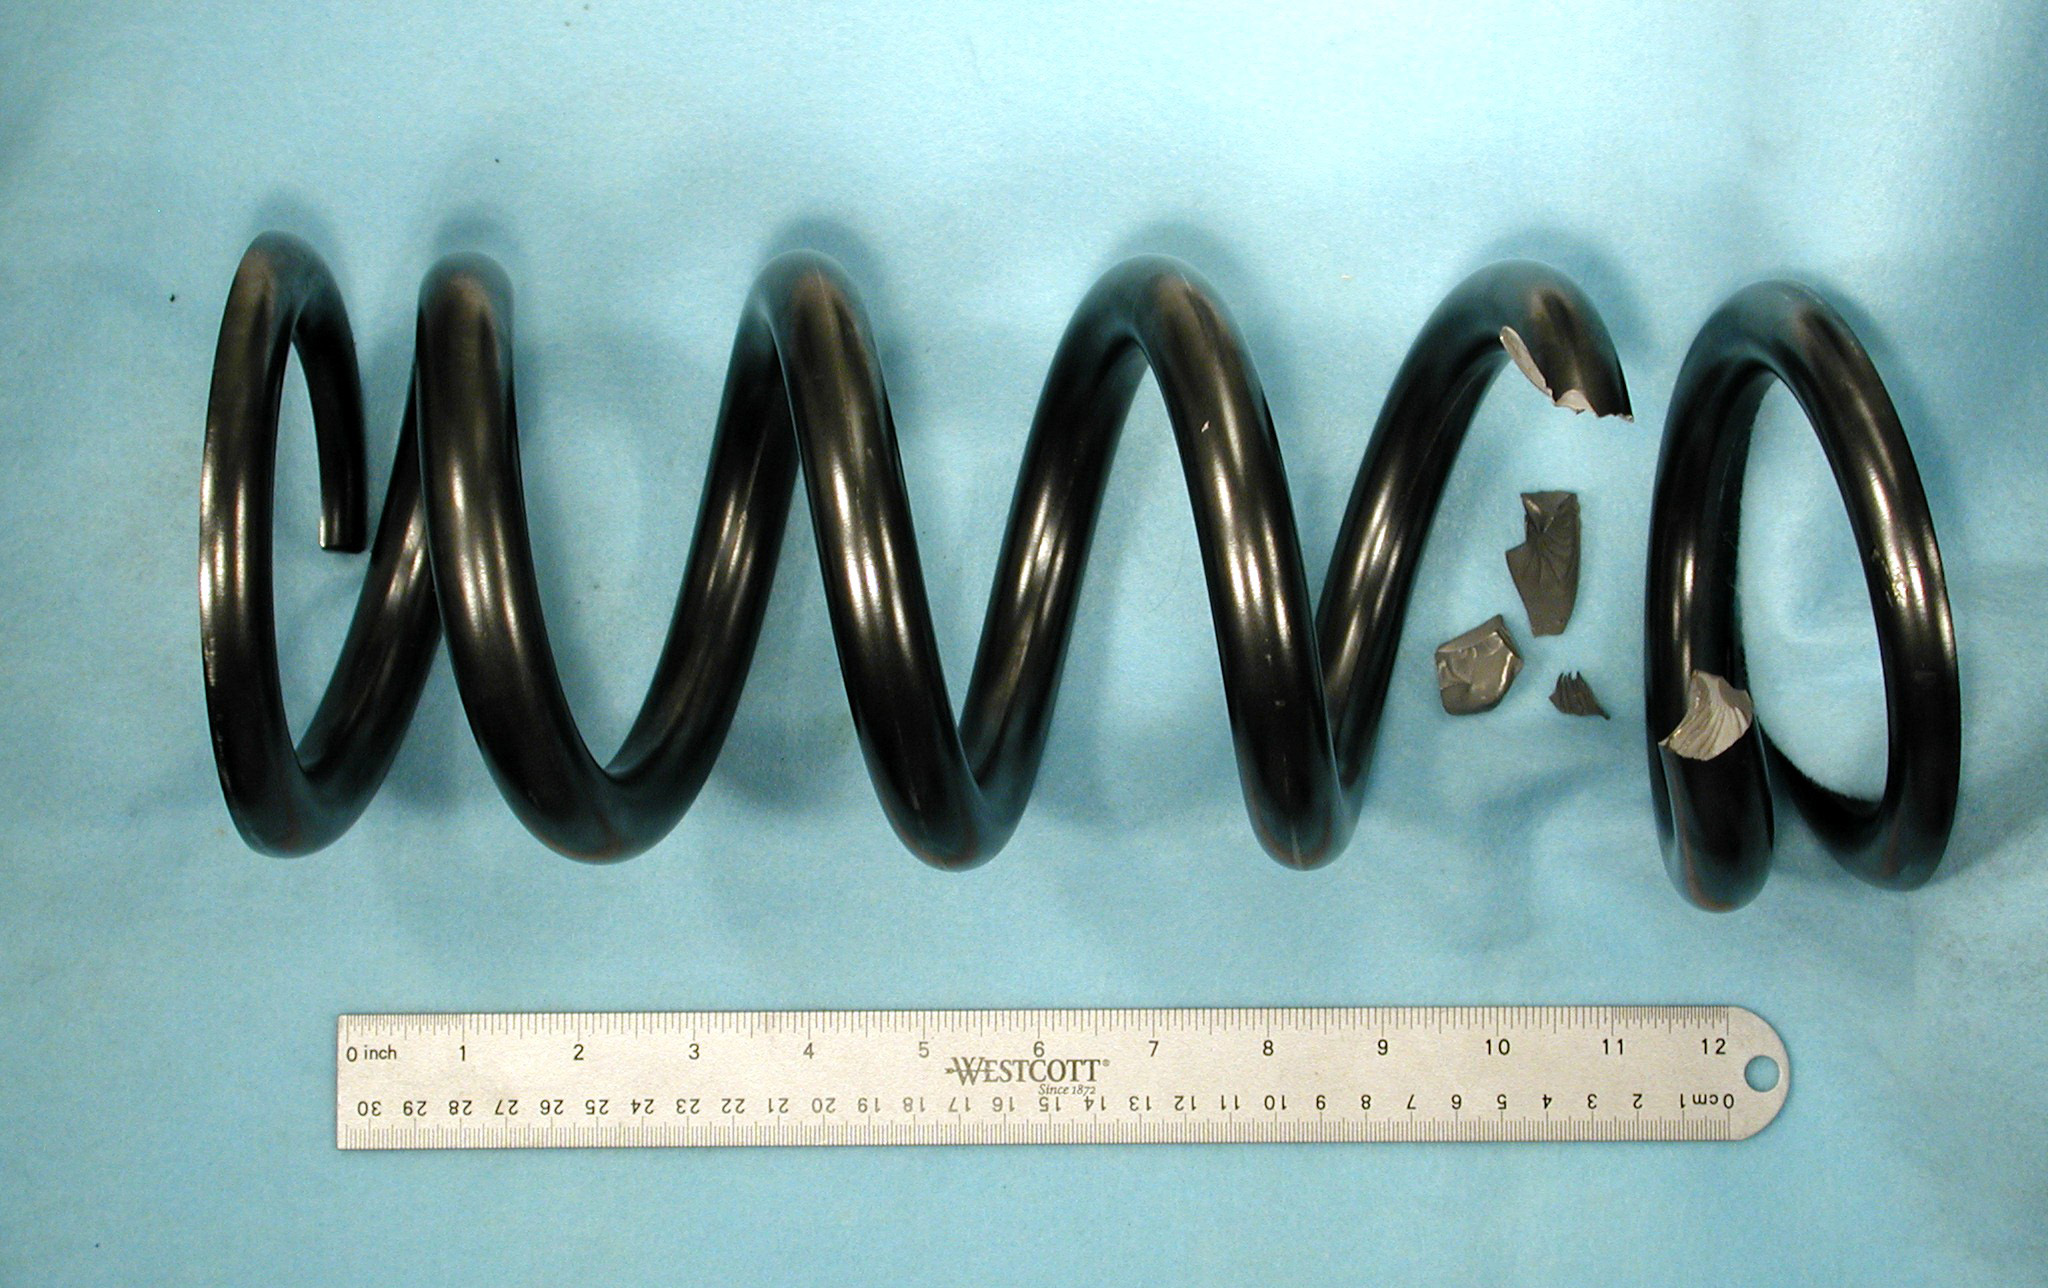
Metallurgical failure analysis is a systematic approach to investigating and understanding the reasons behind the failure of metal components or structures. This process is crucial in improving material performance, preventing future failures, and ensuring safety and reliability. Using advanced analytical equipment and techniques, our materials experts can interpret test results and provide clients with a detailed plan of action.
Metallurgical testing is performed using various methods and techniques that compare results against the appropriate industry standards, such as ASTM, SAE, and more. Businesses and industries from around the world rely on the professional staff at Rimkus Materials Testing and Investigation to provide them with fast and accurate materials testing results. Some of the industries and products we work with include:
- Motorsports
- Automotive Manufacturing
- Construction
- Plumbing (Water Systems)
- Marine
- Chemical and Pharmaceutical Production
- Power Generation and Utilities
- Heat Exchangers
- Boilers
By understanding the underlying causes of failures, our engineers and materials scientists can help clients make informed decisions to enhance material performance and prevent future issues.
Basic Steps in a Typical Metallurgical Failure Analysis
| Initial Assessment and Information Gathering |
- Identify the Problem: We gather detailed information about the failure, including how it occurred, the operational conditions, and the impact of the failure.
- Visual examination: Our experts conduct a preliminary visual examination of the failed component to identify obvious signs of damage or anomalies.
- Photo Documentation: As part of our examination, we take photos to document all components and visual evidence.
|
| Sampling and Preparation |
- Sample Collection: We obtain representative samples from the failed component. This may involve sectioning or cutting parts of the material.
- Sample Preparation: Our team prepares samples for analysis, which often involves polishing, etching, and mounting to reveal the microstructural features.
|
| Microscopic Examination |
- Optical Microscopy: Our consultants examine the surface and cross-sections of the samples using an optical microscope to identify microstructural features, such as grain boundaries, phases, and defects.
- Scanning Electron Microscopy (SEM): We use SEM for higher magnification and detailed imaging of the fracture surface features, corrosion deposits, and erosion. All of these can provide information about the fracture mechanisms and surface features.
|
| Chemical Analysis |
- Spectroscopy: Employing techniques such as energy-dispersive X-ray spectroscopy (EDS), we can determine the elemental composition of the material and identify any contaminants, corrosion products, or compositional deviations.
- Chemical Testing: We perform tests to analyze specific elements or compounds that make up the material compositional properties. The optical emissions spectroscopy (OES) technique utilizes a high-energy spark created between an electrode and a sample of the material to be analyzed.
|
Additional Steps in a Typical Metallurgical Failure Analysis
| Mechanical Testing |
- Hardness Testing: Our experts measure the hardness of the material to assess its resistance to deformation and compare it with the material specifications.
- Tensile Testing: We conduct tensile tests to determine the material’s strength, ductility, and other mechanical properties.
- Impact Testing: We evaluate the material’s toughness and ability to absorb energy under impact conditions.
|
| Fractography |
- Fracture Surface Analysis: Our team analyzes the fracture surfaces to identify patterns and features indicative of the failure mechanism (e.g., fatigue, corrosion, overload).
- Failure Mode Identification: We determine whether the failure was due to mechanical overload, fatigue, corrosion, thermal effects, or other factors.
|
| Failure Mechanism Analysis |
- Corrosion Analysis: If corrosion is suspected, we examine the type and extent of corrosion and its impact on the material.
- Fatigue Analysis: Our consultants investigate signs of fatigue cracking, such as beach marks or striations, to understand cyclic loading effects.
- Overload Analysis: We identify any signs of excessive loading or stress beyond the material’s capacity.
- Wear: We assess surface degradation due to friction or abrasion.
- Thermal Failure: We aim to identify any damage due to high temperatures affecting the material properties.
|
| Identification of Root Cause |
- Root Cause: Understanding the root cause of a metallurgical failure means knowing why it happened, which is wholly different than how it happened and can provide insight into preventing future occurrences.
- Comprehensive Insight: What sets us apart from other laboratory personnel is our access to more than 1,000 Rimkus experts in almost any technical field. We leverage this broad experience to provide complete answers and solutions to complex questions.
|
| Reporting and Recommendations |
- Consider Contributing Factors: Our experts evaluate additional factors like design issues, manufacturing defects, or operational conditions that may have contributed to the failure.
- Detailed Report: We prepare a comprehensive report detailing the findings, analysis methods, and conclusions, including photographs, diagrams, and data as needed.
- Recommendations: We provide recommendations for corrective actions, such as material changes, design modifications, or changes in maintenance practices to prevent recurrence.
|
Contact Our Team
Learn more about our Materials Testing and Investigation laboratory services below or by contacting our Laboratory Operations Manager, Allen Conway, directly at +1 704 663 5108 or [email protected].


